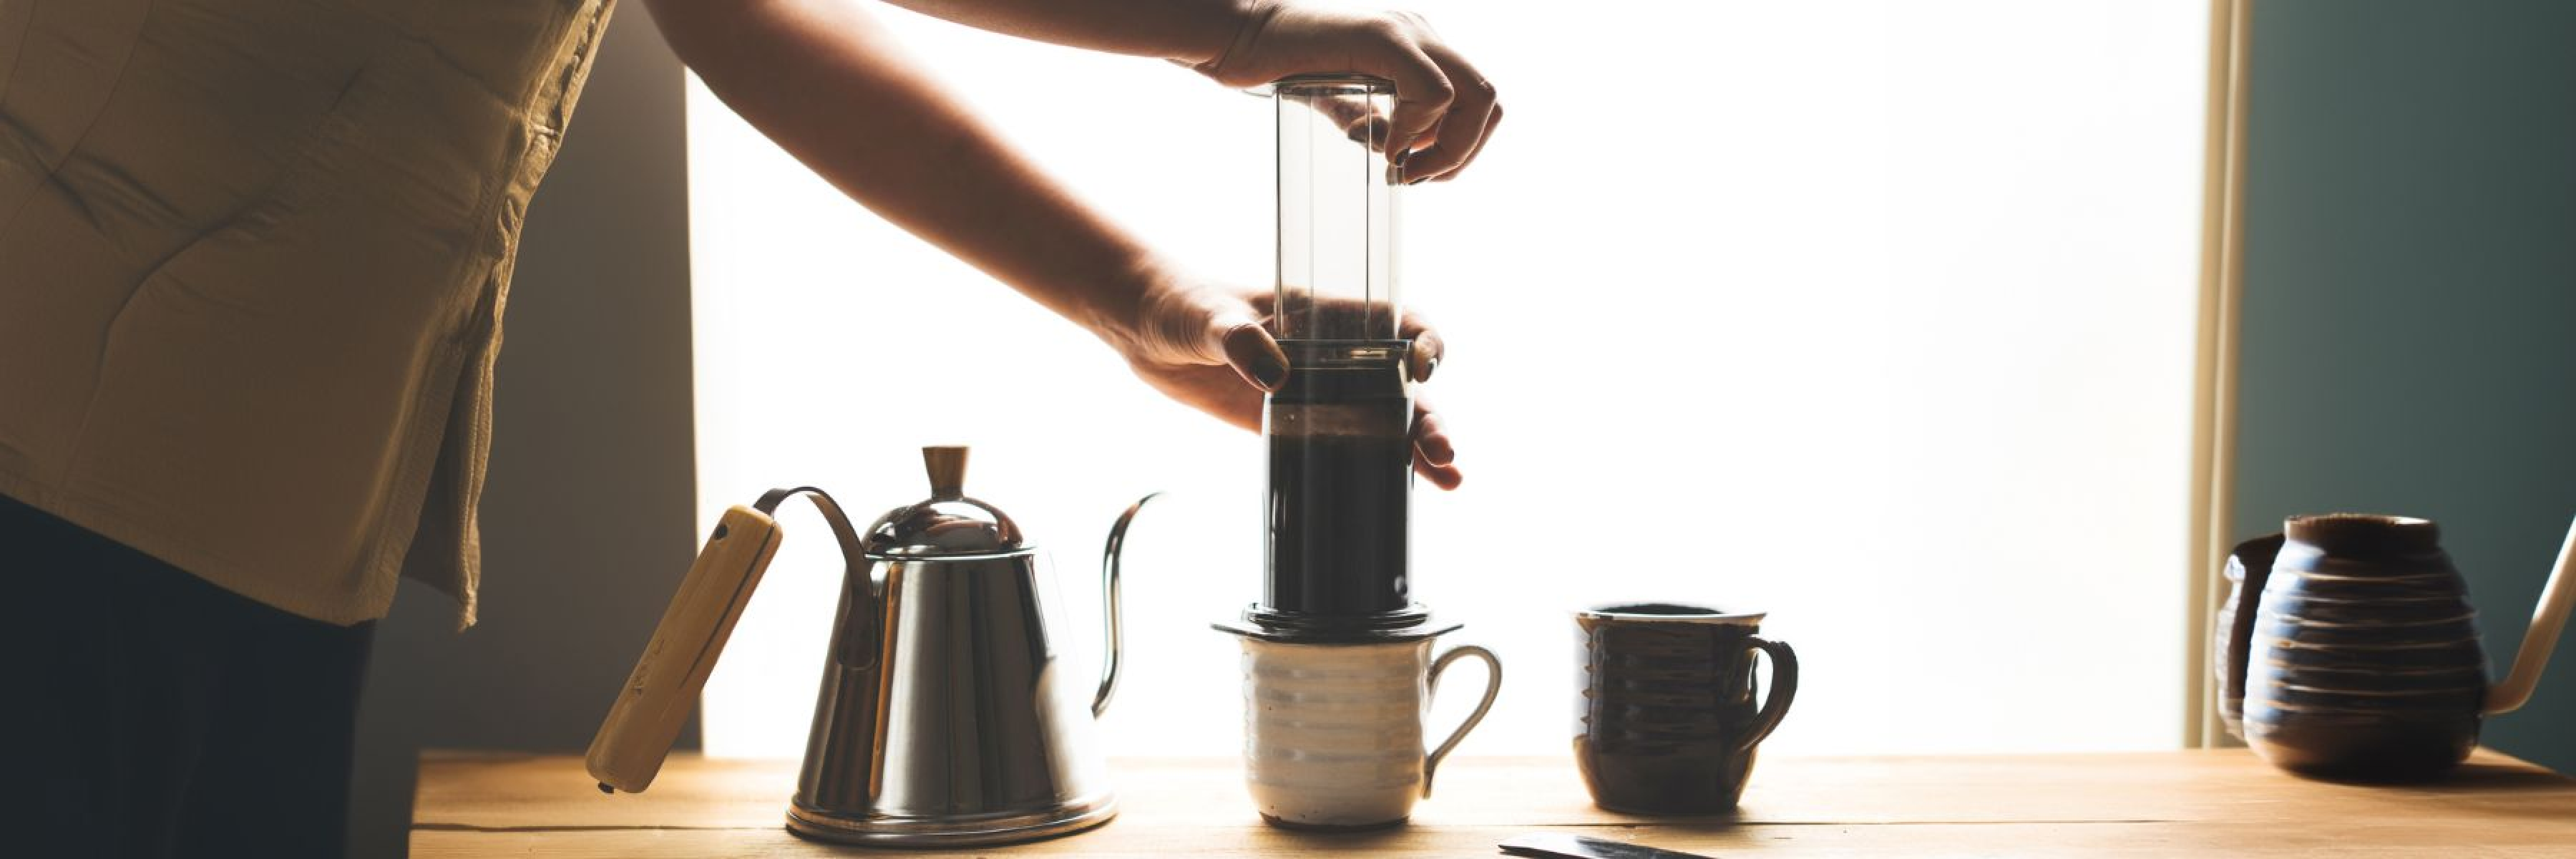
Brewing coffee can seem straightforward, but it’s a craft with nuances. Even small mistakes can significantly affect the flavor of your cup. To help you achieve the best brew possible, here’s a guide from Flava Coffee on the most common coffee brewing mistakes and how to fix them. We'll also reveal a unique mistake that even seasoned coffee lovers might overlook.

1. Getting the Grind Wrong

Using the wrong grind size for your brewing method can make your coffee taste too bitter or weak.
How to Fix It:
Match your grind size to your brewing method:
- French Press: Coarse grind for a rich, full-bodied brew.
- Pour Over: Medium-coarse grind to balance flavor and clarity.
- Drip Coffee Maker: Medium grind for a smooth, consistent cup.
- Espresso Machine: Fine grind for a bold, intense shot.
Using a burr grinder instead of a blade grinder helps achieve consistent particle sizes. Adjust the grind if your coffee tastes off—coarser for bitterness and finer for sourness.
2. Misjudging Water Temperature
What’s the Issue?
Water that’s too hot can burn the coffee, while water
that’s too cool doesn’t extract enough flavor.
How to Fix It:
Use water between 195°F and 205°F (90°C to 96°C). If you
don’t have a thermometer, bring the water to a boil and let it sit for about 30 seconds before brewing.
Consider investing in a temperature-controlled kettle for precision.
3. Messing Up the Coffee-to-Water Ratio
What’s the Issue?
Too much coffee can overwhelm the flavor, and too
little can make your brew weak and watery.
How to Fix It:
Stick to the golden ratio of 1:16 (one part coffee to sixteen parts water). For example, use about 1 ounce (28 grams) of coffee for 16 ounces (475 ml) of water. A digital scale ensures you get the right balance every time.
4. Using Stale Coffee Beans

What’s the Issue?
Old or improperly
stored coffee beans lose their flavor, making your coffee taste flat.
How to Fix It:
Buy fresh beans in
small batches and store them in an airtight container away from light, heat, and moisture. Grind your beans
just before brewing to capture the full flavor. Use them within 2-3 weeks of roasting for the best
results.
5. Neglecting Your Coffee Gear

What’s the Issue?
Coffee residue and
mineral deposits in your equipment can alter the taste of your brew.
How to Fix It:
Clean your coffee maker, grinder, and other gear regularly. Use water and white vinegar or a specialized cleaner to remove buildup. Make sure to rinse thoroughly to avoid lingering cleaning agents that could taint your coffee.
6. Messing Up Brew Time
What’s the Issue?
Brewing your coffee for too long or not long
enough can drastically change its taste.
How to Fix It:
Stick to the recommended brew times:
- French Press: Steep for 4-5 minutes.
- Pour Over: Aim for 2.5-4 minutes.
- Drip Coffee Maker: Allow 4-6 minutes.
- Espresso: Extract for 25-30 seconds.
Adjust the timing within these ranges to suit your taste.
7. Skipping the Bloom
What’s the Issue?
Skipping the blooming process in pour-over or drip
brewing can lead to uneven extraction.
How to Fix It:
Bloom your coffee by pouring a small amount of hot water over
the grounds and letting it sit for 30-45 seconds before brewing. This step releases trapped gases and
prepares the coffee for a more even extraction.
8. Inconsistent Pouring

What’s the Issue?
Uneven pouring can
cause uneven extraction, leading to an unbalanced cup.
How to Fix It:
Pour steadily and
evenly during manual brewing. Use a gooseneck kettle for better control and pour in a circular motion to
ensure all the grounds are evenly saturated.
9. Forgetting About Altitude
What’s the Issue?
High altitudes affect water’s boiling point,
which can throw off your brewing times and temperatures.
How to Fix It:
If you live at high altitudes, water boils at
lower temperatures, so you may need to tweak your brewing process. Experiment to find what works best for
your location.
The Hidden Trap: Skipping the Degassing Period
What’s the Issue?
Freshly roasted coffee beans release carbon
dioxide, a process known as degassing. Brewing too soon after roasting can trap these gases, resulting in an
uneven and sour taste.
How to Fix It:
Let your freshly roasted beans rest for a few
days before brewing. Typically, a 3-7 day degassing period works well, depending on the roast level:
- Lighter Roasts: Need a bit longer to degas, so wait closer to 7 days.
- Darker Roasts: May be ready to brew after just 3-4 days.
Tips for Degassing:
- Check Roast Dates: Use beans a few days past the roast date.
- Proper Storage: Use containers with one-way valves to allow gases to escape while keeping air out.
- Taste Testing: Experiment with different degassing times to find what you prefer.
Wrapping Up
Brewing the perfect cup of coffee takes a bit of knowledge and practice. By avoiding these common mistakes and paying attention to the often-overlooked degassing period, you can elevate your coffee game. Remember, it’s all about experimenting and fine-tuning your process.
At Flava Coffee, we’re passionate about helping you achieve your perfect brew. Explore our fresh beans to start your journey toward coffee perfection. Cheers to better coffee!
Stay tuned to the Flava Coffee blog for more insights and tips on making the most of your coffee. And be sure to check out our selection of signature blends to find your new favorite.


